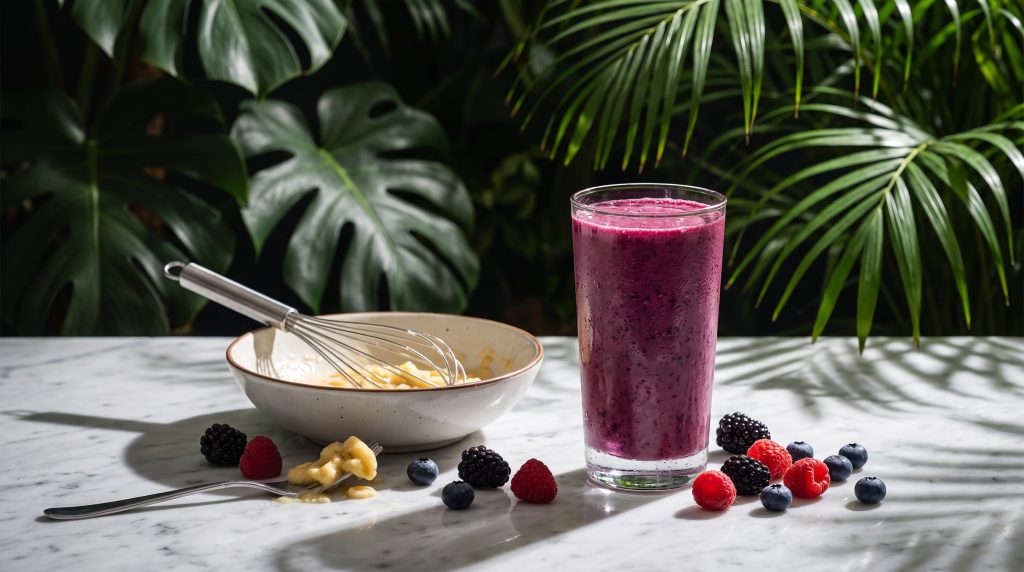
How to make a smoothie without a blender
Entirely doable — with a few realistic caveats. The result may not have the silky, café-quality texture of a high-speed blended smoothie, but a perfectly decent, nutritious smoothie is achievable without a traditional countertop blender. Here are five methods, ranked roughly from most to least effective.
Method 1: Immersion blender (stick blender)
Best for: Almost everything. This is the most effective alternative to a countertop blender.
An immersion blender — sometimes called a stick blender — is a handheld device with a blending head at the bottom. You put it directly into a jug, tall glass, or deep bowl with your ingredients and blend in place.
How to do it:
- Place your fruit, liquid base, and any other ingredients into a deep, tall container (a measuring jug works well).
- Cut or break fruit into rough chunks if using fresh fruit; frozen fruit can go in as-is.
- Submerge the blending head fully before turning on — this prevents splatter.
- Blend in short, up-and-down pulses until smooth, approximately 30–60 seconds.
- If the mixture is too thick to blend, add a splash more liquid and continue.
Results: Very good. Immersion blenders can achieve a smooth, well-blended texture for most fruits and most combinations. They struggle slightly more than countertop blenders with ice and very fibrous ingredients (kale stalks, raw carrot) but handle ripe or frozen fruit well.
Honest limitation: Leafy greens do not blend as finely with an immersion blender as with a high-speed countertop blender. Spinach will mostly disappear, but kale will leave some texture.
Method 2: Food processor
Best for: Fruit-heavy smoothies; thicker textures; larger batches.
A food processor with a standard S-blade works for smoothies, though it is better suited to thicker, more paste-like textures than to the pourable consistency of a typical smoothie.
How to do it:
- Add your fruit and solid ingredients to the food processor bowl first.
- Pour in your liquid base — start with less than you think you need (around 100ml for a single serving).
- Process in 10-second pulses, checking texture after each pulse.
- Add more liquid gradually until you reach your desired consistency.
- Pour through a wide-mouthed container; the liquid will be a bit thicker than blender-smooth.
Results: Good for most fruit combinations. Particularly effective for soft or frozen fruit. Not ideal for leafy greens unless your food processor is reasonably powerful.
Honest limitation: You tend to need slightly less liquid than a blender recipe specifies, and the result is often thicker. Think “very thick smoothie” rather than “pourable drink.”
Method 3: Manual food mill
Best for: Very soft or cooked fruit; situations where electricity is unavailable.
A food mill (sometimes called a mouli) is a hand-cranked kitchen tool that purees soft ingredients by pressing them through a disc with fine holes. It takes more effort than a blender but produces a reasonably smooth result for soft fruit.
How to do it:
- Use only very soft fruit — ripe banana, ripe mango, thawed frozen strawberries, tinned fruit (drained).
- Push the fruit through the food mill into a bowl, cranking the handle steadily.
- Once all fruit is processed, stir in your liquid base until you reach the desired consistency.
- Mix vigorously with a fork or whisk.
Results: Decent for very soft fruit; laborious for anything firmer. Works best for simple two-ingredient combinations.
Honest limitation: This method takes time and effort. It does not work for leafy greens or firm raw fruit. The texture will be smoother than mashed but not as smooth as blended.
Method 4: Mason jar, fork, and potato masher
Best for: Very ripe bananas; simple two-ingredient smoothies; when you have nothing else available.
The most manual method on the list. This works surprisingly well for the right ingredients — particularly very ripe bananas, which break down easily under physical force.
How to do it:
- Peel and slice your fruit into small chunks (thinner than you might cut it to eat — 1–2cm pieces).
- Place fruit in a wide, sturdy bowl or mason jar.
- Mash vigorously with a fork or potato masher until the fruit is thoroughly broken down and paste-like.
- Add your liquid base a little at a time, stirring vigorously between additions.
- Continue until the mixture is as smooth and loose as you can get it.
Results: Best with very ripe bananas or mashed berries. A ripe banana smoothie made this way is quite good. Something with frozen mango will not achieve much smoothness at all.
The result will always be somewhat textured — this is the most manual of the methods and honesty demands acknowledging that. But for a banana and oat milk combination, the texture is actually pleasant and not worlds away from a blended result. For a proper banana smoothie recipe, see our banana smoothie post.
Honest limitation: This does not work for firm fruit, frozen ingredients (unless thawed and soft), or anything involving greens.
Method 5: Pre-blended frozen smoothie packs
Best for: When you want a smoothie and have no blender or energy for the above.
Several brands sell portion-sized bags of pre-blended and frozen smoothie ingredients — the fruit is already blended, then frozen into a dense, semi-solid portion. You empty the bag into a glass or shaker, add your liquid base, and stir or shake vigorously until thawed and combined.
How to do it:
- Remove the smoothie pack from the freezer and leave at room temperature for 5–10 minutes to soften slightly.
- Empty the contents into a wide glass or shaker bottle.
- Add 150–200ml of your liquid base.
- Stir vigorously, or seal and shake the bottle, until fully combined and smooth.
- Add more liquid to adjust consistency.
Results: Genuinely good, because the blending has already been done. The texture varies by brand but is generally much smoother than the manual methods above.
Honest limitation: You are relying on the quality and ingredients of the brand. Check the label — you want whole blended fruit, not concentrates or added sugar. Also worth knowing: this is not truly making a smoothie without a blender; it is using someone else’s blender. But it is a completely legitimate solution.
General tips for blender-free smoothies
- Use very ripe or frozen-then-thawed fruit. The riper the fruit, the softer and easier to break down. Frozen fruit that has thawed for 15–20 minutes is particularly easy to work with.
- Cut everything small. Smaller pieces mean less work for your chosen method.
- Add liquid gradually. You can always add more; starting with too much liquid makes everything harder to control.
- Leafy greens are very difficult without a proper blender. Spinach can work in an immersion blender; kale stalks will not cooperate with any of the above methods. Accept the limitation and stick to fruit-forward combinations.
- If you want to make smoothies regularly without a full blender, an immersion blender is a small, inexpensive, and highly practical investment. It costs considerably less than a countertop blender and can live in a drawer.
Thinking about making ahead and freezing portions? See our guide on freezing smoothies — which is also relevant if you are batch-prepping ingredients that you then want to grab and blend (or mix) quickly each morning.
Frequently asked questions
Q: Can you make a smoothie with just a fork?
A: Yes, for very ripe soft fruit like banana. The result will be textured rather than smooth, but it is perfectly edible. It works best with one or two ingredients and a lot of patience.
Q: Does a food processor work as well as a blender for smoothies?
A: Pretty well, especially for fruit-heavy smoothies. The main differences are that you need to use slightly less liquid and the result tends to be thicker. It handles most frozen fruit competently.
Q: Can you make a smoothie in a protein shaker?
A: You can combine pre-mashed soft fruit (like banana) with liquid in a protein shaker and shake it. It is closer to a textured fruit drink than a smoothie, but it works in a pinch.
Q: What fruit works best without a blender?
A: Very ripe banana is the clear winner — it mashes down to a near-paste with minimal effort. Thawed frozen strawberries and mango also break down reasonably well. Frozen blueberries are harder to mash but still manageable once fully thawed.
Q: Can I use an immersion blender for all smoothie recipes?
A: For most smoothie recipes, yes. It handles soft and frozen fruit very well. The one limitation is very fibrous greens (kale stalks) and ice, which a high-speed countertop blender handles better.
HowTo schema data
How-to name: How to make a smoothie without a blender
Description: Five methods for making a smoothie without a countertop blender, from immersion blender to manual mashing — with tips and honest notes on limitations.
Total time: 5–15 minutes depending on method
Tools: Immersion blender / food processor / food mill / fork and bowl / shaker bottle
Steps:
1. Choose your method based on equipment available: immersion blender, food processor, food mill, manual mashing, or frozen smoothie pack.
2. Prepare fruit: use very ripe or frozen-then-thawed fruit, cut into small pieces.
3. Add fruit to your chosen equipment and begin breaking it down.
4. Add liquid base gradually, mixing or processing between additions.
5. Adjust consistency by adding more liquid, and serve immediately.
If you want a properly blended smoothie without any of the manual effort, we have that covered. Take a look at our smoothies menu to see what we make. Framberry opens in London in 2027 — join the list and be the first to know.